August 3, 2017
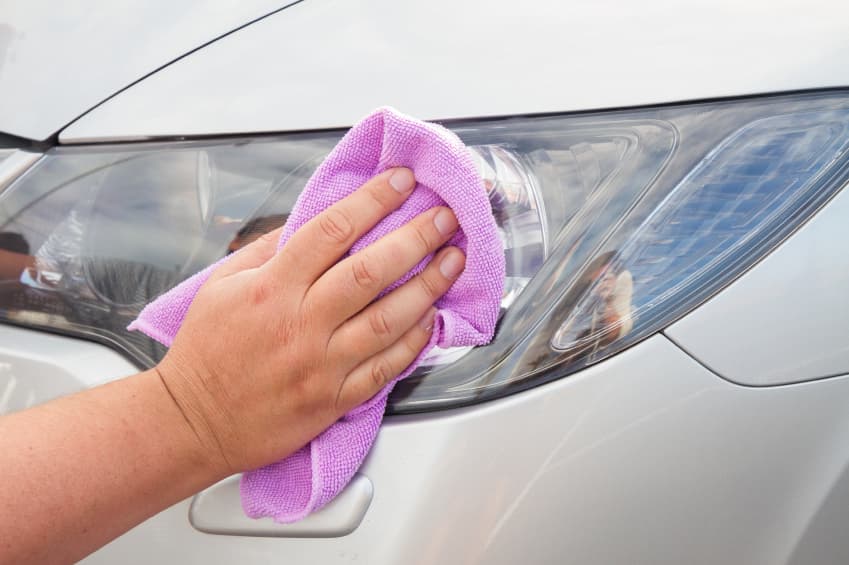
How to Clean Car Headlights – The Brilliant Method
A general sprucing-up of your vehicle can do wonders throughout the fall and winter months. This is an opportune time to give your car a little TLC while ensuring it is in the best possible working shape. Although certain issues are best dealt with by a professional, car headlight care is one DIY maintenance step that you can tackle yourself. With a few quick steps and a handy DIY restoration kit, you can easily learn how to remove scratches from your headlight covers and how to keep them clean for years to come. You can even leave the headlight covers on the vehicle during the cleaning process! This DIY job is so simple that you can even get the kids in on the action for a day of fun and education on the importance of regular auto care and maintenance.
Tools and Materials Needed:
- Headlight Restoration Kit
- Latex Gloves
- Sponge
- Electrician’s Tape
- Newspaper
- Water
- Car Soap
- Buffing Wheel (optional)
How to Clean Headlight Covers
Prep the Area
In as little as 10 minutes, you can have bright, clean and like-new headlight covers. Begin by wiping as much surface grime from the headlight covers as possible with soapy water and newspaper. Dry the area in order to tape off headlight covers from the rest of the body. Next, apply electrician’s tape around the headlight covers to avoid using any abrasive materials on the car’s paint job. Because the sanding solution provided in most kits can splatter around the headlight cover it is a good idea to tape down newspaper for additional protection.
Remove Dirt and Grime
With your protective gloves on, apply the sanding solution to each headlight. All headlight restoration kits on the market include a similar solution that uses an abrasive material to buff out dirt, grime, build-up, and plastic chips. For extra scrubbing power, a buffing wheel can be used to remove heavy dirt and grime from the headlight covers. A little extra time spent buffing off build-up will go a long way. Next, apply the headlight cover polish to remove excess sanding solution and grime.
Keep Headlight Covers Cleaner for Longer
Don’t forget to follow all directions provided carefully in order to get the best results. If a clear coat is provided in your kit, be sure not to miss this step as it will help protect the headlight covers over time from build-up and UV damage.
Get Maximum Results
It is highly recommended that DIY’ers purchase a headlight restoration kit that provides a UV clear coat as a final care step. This is due to the fact that the sanding solutions provided in all DIY kits actually work by removing the protective layer that was originally on each cover. If you skip this important step you could see your headlight covers fogging up again in a few weeks. As with any DIY project, it is important to remember that you will get the best results with proper preparation and follow through. Once you see the awesome results you’ll be ready to share with your friends and family the value of learning how to clean scratched headlight covers from grime and other build-up.
Ask a Professional
Cleaning your dirty headlight covers can be inexpensive, easy and provide you with great results. Your vehicle will not only look better but with increased visibility, you and your loved ones will be safer on the road.
Don’t have the time? Let us take care of it!
For more information on how to clean yellowing, headlight covers you can bring your car into your local Meineke Car Care Center. Visit Meineke for all of your auto repair and car care needs including oil changes, battery checks, brakes and alignments. From DIY help to car care and maintenance from trained Meineke technicians, we’ve got your auto needs covered.
Related Posts
9/15/2017
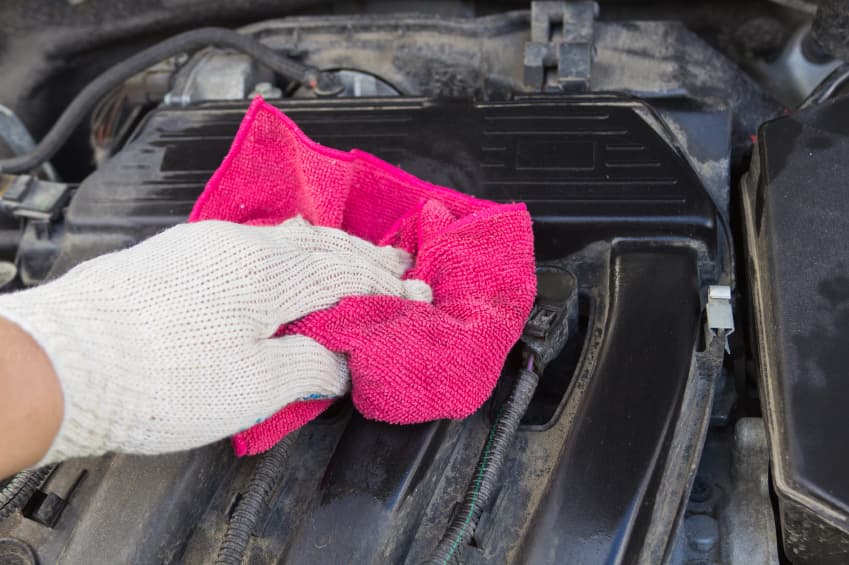
How to Clean Your Car’s Engine
Can You Believe This Car Has Over 60,000 Miles on Its Odometer? So, you washed your car interior and exterior and you are driving around town when your car suddenly starts to cough and sputter. Like any other machine, your car’s engine and its engine compartment also need cleaning in order for your […]
9/8/2017
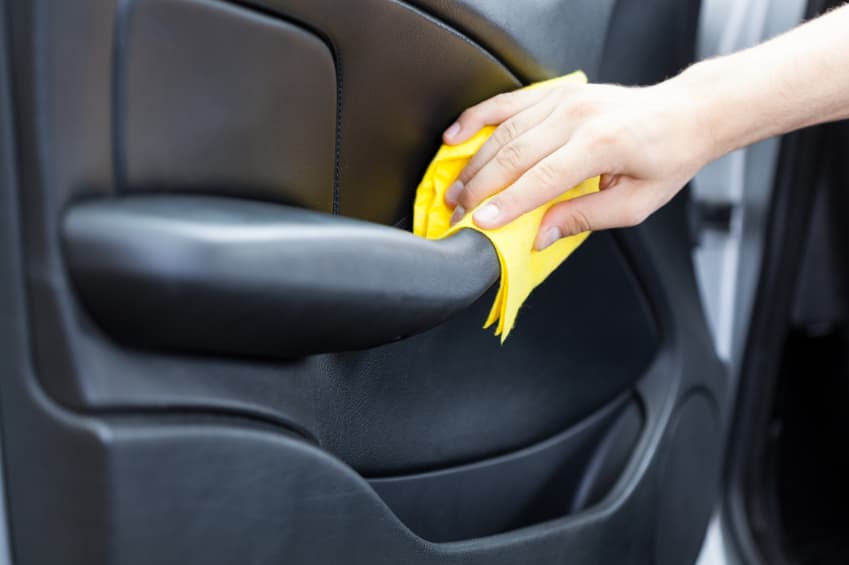
How to Clean Your Car’s Interior
Whether it’s smashed french fries under the baby’s car seat or soda stains from that last-minute spring semester road trip, the inside of your vehicle can begin to look rough after continuous daily use. Cleaning your car interior on a regular basis not only makes driving a more pleasant experience, but it can also […]
6/30/2017
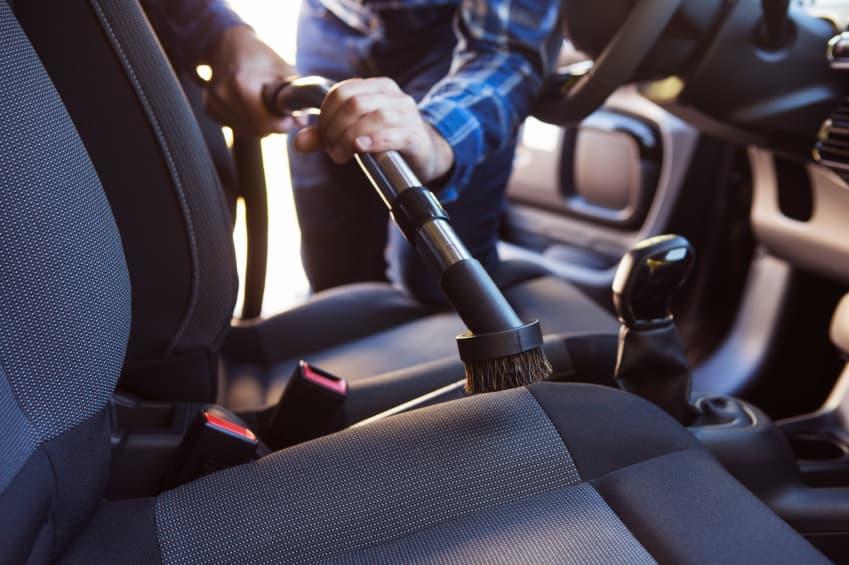
How to Clean Car Carpet and Get Stains Out
Whether you just bought a new car or you’ve been driving the same one for 10 years, you should still do your best to take care of it. From changing the oil regularly to having your tires rotated, these maintenance tasks are of the utmost importance. In addition to taking care of the engine […]