
October 30, 2026
How to Fix a Flat Tire
Skill level: Temporary roadside action: beginner. Permanent repair: professional recommended.
Estimated effort: 30 to 90 minutes
A flat tire can be handled in two stages. The first is the roadside stage, where the goal is simply to get you and your vehicle moving safely again. Most drivers can manage that part with the tools already in the trunk. The second stage is the permanent fix, which involves removing the tire from the wheel, inspecting it inside and out, and repairing or replacing it. That part is best left to a trained technician.
This guide covers both stages, including how to tell whether a tire can be repaired at all.
What to Do When a Tire Goes Flat
If a tire loses air while you are driving, stay calm and focus on getting to a safe place.
- Ease off the accelerator. Keep a firm grip on the wheel and avoid braking hard or steering sharply.
- Turn on your hazard lights. Let other drivers know you are slowing down.
- Pull over somewhere safe. Look for a level, firm surface well away from traffic, such as a parking lot or a wide shoulder. Driving slowly for a short distance to reach a safe spot is better than stopping in a dangerous one.
- Secure the vehicle. Shift into park, set the parking brake, and place wheel wedges or a heavy object behind a tire on the opposite end of the vehicle if you have one.
- Choose your temporary fix. Depending on your vehicle and the damage, that may be installing the spare, using a sealant and inflator kit, or adding air to a slow leak so you can reach a shop.
- Call for help if you need it. If you are on a busy highway, on uneven ground, or missing any tools, roadside assistance is the safer option.
If you install the spare yourself, loosen the lug nuts slightly before raising the vehicle, use the jacking point shown in your owner's manual, and tighten the lug nuts in a star pattern once the spare is on. Never get under a vehicle supported only by a jack.
Find the Source of the Air Loss
Knowing where the air is escaping helps you decide what to do next. Once you are safely stopped, look over the tire for the following:
- Objects in the tread. Nails and screws are the most common cause of a flat. If you find one, leave it in place. It is often slowing the leak, and it shows the technician exactly where the damage is.
- Cuts, bulges, or gashes in the sidewall. These are usually the result of a curb or pothole impact.
- The valve stem. A cracked, loose, or leaking valve stem can let air out even when the tire itself is fine.
- The wheel. A bent or corroded rim can break the seal between the tire and the wheel.
For a slow leak you cannot see, spray soapy water over the tread, sidewalls, valve stem, and the edge of the rim. Bubbles will form where air is escaping.
Sometimes there is no damage at all. Tires naturally lose pressure in cold weather, which can trigger a warning light. If the tire holds air after you inflate it to the pressure on your door placard, monitor it over the next few days.
Can the Tire Be Repaired?
Not every flat tire can be saved. Whether a repair is safe depends on where the damage is, how large it is, and what condition the rest of the tire is in.
Repairable Tread-Area Punctures
A puncture in the center portion of the tread, away from the outer edges, is the best candidate for repair. This part of the tire is thick, reinforced with steel belts, and flexes less than the sides. A clean puncture from a nail or screw in this area can usually be repaired properly, as long as the tire is otherwise in good shape and has adequate tread remaining.
Sidewall and Shoulder Damage
Punctures, cuts, or bulges in the sidewall or the shoulder, which is the curved area where the tread meets the sidewall, cannot be safely repaired. These areas flex constantly as the tire rolls, and a repair will not hold up to that movement. A tire with sidewall or shoulder damage needs to be replaced.
Puncture Size and Previous Repairs
Industry guidelines limit repairs on passenger tires to punctures no larger than 1/4 inch in diameter. Anything bigger, including long cuts or irregular gashes, weakens the tire's structure too much to repair.
Previous repairs count as well. A tire can often be repaired more than once, but the repairs cannot overlap or sit too close together. A tire that was previously fixed with an improper repair may also be ruled out.
Damage From Driving While Flat
Driving on a flat or severely underinflated tire, even for a short distance, can destroy it from the inside. The sidewalls fold and grind against themselves and the wheel, breaking down the inner structure. This damage often is not visible from the outside. Signs include a scuffed ring around the sidewall and loose rubber dust inside the tire. A tire with this kind of internal damage must be replaced, even if the original puncture was small.
Temporary Inflation and Sealant Options
Several products can get you back on the road for a short time. All of them are temporary measures meant to get you to a repair shop.
- Portable air compressor. A 12-volt inflator can top off a slow leak. If the tire holds pressure, you may be able to drive directly to a shop. Check the pressure again before you leave.
- Sealant and inflator kit. Many newer vehicles include one in place of a spare. The sealant coats the inside of the tire and plugs small tread punctures while the compressor refills it. It will not work on sidewall damage or large holes.
- Aerosol tire sealant. These cans inflate and seal in one step. They work on small punctures only and have the same limits as a factory kit.
- Spare tire. A compact spare is typically limited to about 50 miles at no more than 50 mph. Check the sidewall of the spare for its specific limits.
A few cautions apply to sealants. Follow the speed and distance limits on the product label. Tell the technician that sealant was used, since it has to be cleaned out before the tire can be inspected. Sealant can also affect the tire pressure sensor inside the wheel, and some tire makers will not approve a repair on a tire that has been treated with it.
Why a Tire Plug Alone May Not Be a Permanent Repair
String plug kits are sold at most auto parts stores, and they let you push a sticky rubber cord into a puncture from the outside without removing the tire. They can stop a leak in a pinch, but they fall short of a proper repair for a few reasons:
- The tire never gets inspected inside. Because the tire stays on the wheel, there is no way to check for hidden internal damage.
- The inner liner is not sealed. The inner liner is the layer that holds air in the tire. A plug fills the hole but does not seal the liner around it, so air and moisture can still work their way into the tire's body.
- Moisture can reach the steel belts. Over time, that moisture can cause the belts to corrode and separate.
- Plugs can loosen. A plug that is not bonded to the tire can shift or work its way out with heat and flexing.
A patch applied on the inside without a plug has the opposite problem. It seals the liner but leaves the puncture channel open to water. Tire industry repair standards call for both, which is why a combination repair is considered the proper method. If you have used a plug kit to get home, have the tire professionally inspected soon afterward.
How a Professional Patch-Plug Repair Works
A proper repair fills the puncture and seals the inner liner at the same time. Here is what the process looks like at a shop:
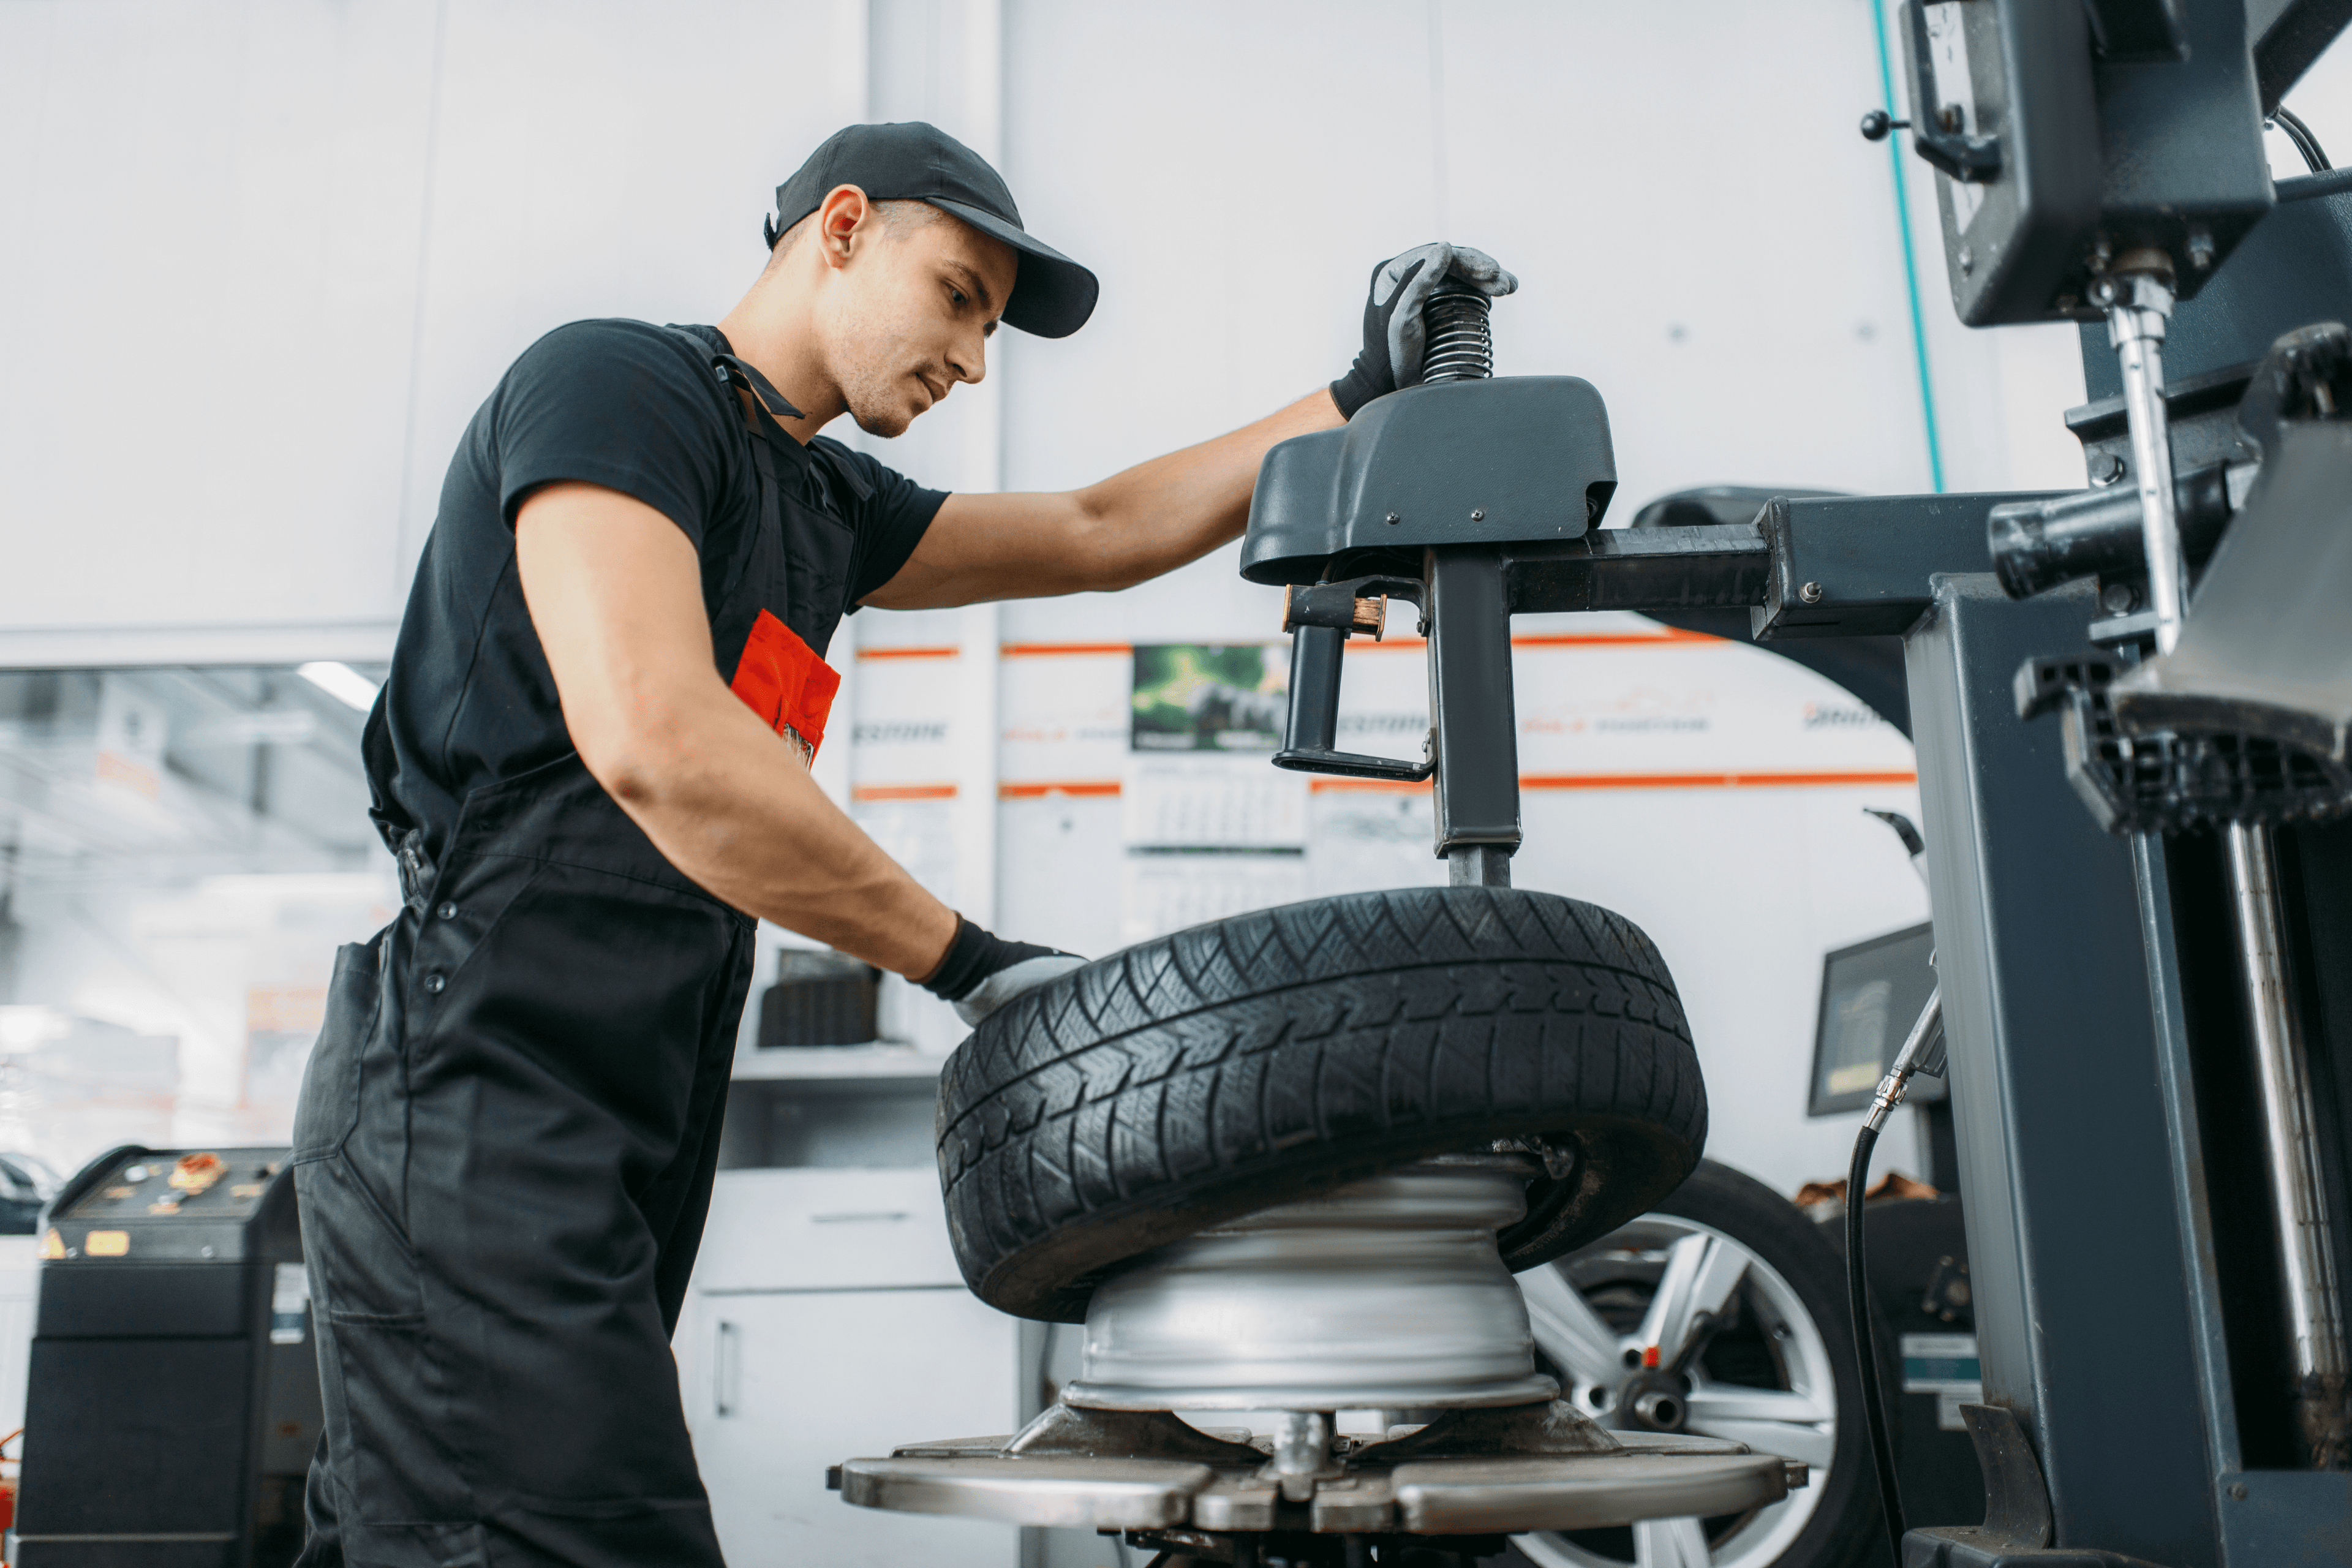
- Remove the tire from the wheel. This step is essential. It is the only way to see the inside of the tire.
- Inspect the tire inside and out. The technician checks the puncture location and size, looks for internal damage, and confirms the tire is a candidate for repair.
- Remove the object and prepare the hole. The puncture channel is cleaned and reamed to remove damaged material and create a uniform opening.
- Buff and clean the inner liner. The area around the puncture is cleaned and lightly buffed so the patch can bond.
- Apply vulcanizing cement. The cement is spread over the buffed area and allowed to dry.
- Install the patch-plug unit. A one-piece repair unit is pulled through from the inside. The stem fills the puncture channel, and the patch covers the inner liner.
- Seal and finish. The patch is pressed firmly into place, the edges are sealed, and the excess stem is trimmed flush with the tread.
- Remount, inflate, and balance. The tire goes back on the wheel, is inflated to the correct pressure, checked for leaks, and rebalanced.
A repair done this way is designed to last for the remaining life of the tire.
When the Tire Must Be Replaced
A repair is not always possible. Plan on a replacement if any of the following apply:
- The puncture is in the sidewall or shoulder
- The puncture is larger than 1/4 inch in diameter
- The damage is a cut, gash, or tear instead of a round puncture
- The tire was driven on while flat and has internal damage
- There is a bulge or bubble anywhere on the tire
- The tread is worn to 2/32 of an inch or less
- A new puncture overlaps or sits too close to an earlier repair
- The tire shows cracking or other signs of age and dry rot
- The bead, which is the edge that seals against the wheel, is damaged
If you do need a new tire, match it to the others in size, type, and rating. Depending on how much tread is left on your remaining tires, replacing them in pairs may be recommended. All-wheel-drive vehicles often have stricter requirements, so check your owner's manual.
What to Check After a Flat
Once the tire is repaired or replaced, a few follow-up checks will help you avoid a repeat.
- The other three tires. Check their pressure and look them over for embedded objects. Road debris often affects more than one tire.
- The spare. If you used it, have its pressure checked before it goes back in the trunk. Make sure the jack and tools are stowed as well.
- The sealant kit. A used sealant canister needs to be replaced so the kit is ready for next time.
- The TPMS light. The warning light should turn off after the tire is properly inflated and you have driven a short distance. If it stays on or flashes, have the system checked.
- Lug nut torque. Lug nuts should be tightened to the manufacturer's specification and checked again after the first 50 to 100 miles.
- The wheel. If the flat came from a pothole or curb impact, have the rim inspected for bends or cracks.
- Alignment. A hard impact can also knock your alignment out. Pulling to one side or an off-center steering wheel are signs to have it checked.
If you have a flat or a tire that keeps losing air, stop by your local Meineke. Our technicians can inspect the tire, let you know whether it can be safely repaired, and help you choose a replacement if it cannot. Find a Meineke near you to get back on the road.
Frequently Asked Questions
Can I drive on a flat tire?
Only as far as it takes to get out of traffic and reach a safe place to stop. Driving on a flat can destroy the tire's internal structure within a short distance and may damage the wheel. A tire that could have been repaired often has to be replaced after being driven on flat.
How long does it take to fix a flat tire?
Installing a spare usually takes 15 to 30 minutes at the roadside. A professional patch-plug repair typically takes 30 to 60 minutes once the vehicle is in the service bay, since the tire has to be removed, inspected, repaired, remounted, and balanced.
Should I pull the nail out of my tire?
No. Leave it in place. The nail is often slowing the leak, and removing it can cause the tire to lose air quickly. It also shows the technician exactly where the puncture is.
How long can I drive on a plugged tire?
A plug installed from the outside should be treated as a temporary fix. It may hold for a while, but the tire has not been inspected inside and the inner liner has not been sealed. Have the tire professionally inspected and properly repaired as soon as you can.
Can a tire with a nail in the sidewall be repaired?
No. The sidewall flexes constantly while you drive, and a repair in that area will not hold reliably. A tire with a sidewall puncture needs to be replaced.
Is tire sealant a permanent fix?
No. Sealant is meant to get you to a repair shop. Follow the speed and distance limits on the product label, and let the technician know sealant was used so it can be cleaned out before the tire is inspected.
Why does my tire keep losing air when there is no nail in it?
Slow leaks can come from a faulty valve stem, corrosion where the tire seals against the wheel, a bent rim, or a puncture too small to see. Cold weather also lowers tire pressure. A technician can submerge or spray the tire to find the source.
Related Posts

12/19/2025
Signs Your Car Needs a Tune Up: A Complete Checklist
A car tune up can certainly be an ambiguous request or service, as it can mean different things for different people. Some car owners refer to an auto tune up as merely a regular check-up, to make sure that their car is in good shape and everything is working correctly. Others may refer to an […]

2/29/2024
Can You Use Winter Tires All Year?
One of the hardest decisions nearing the end of winter is whether it’s time to take off your snow tires. There’s no shame in the fact that some of us leave it a little longer than necessary. We may even begin to wonder if it’s worth the hassle. You’re not the only one wondering […]
4/5/2017
How Often Tires Should be Rotated and Balanced
Tire balancing is an important component of your routine automotive maintenance schedule. Like changing the oil, balancing the tires is something that vehicle owners are encouraged to do several times throughout the course of the year. This is also something you’ll want to make sure to have done by automotive service professionals. There are […]